Why 30 Days Is Realistic
Touch typing feels impossible in the first few days. Your fingers keep reaching for wrong keys, your speed drops to frustrating levels, and the urge to look down at the keyboard becomes almost irresistible. This is normal. It is not a sign that you cannot learn — it is what the neurological process of building muscle memory always feels like at the start.
The reason 30 days works as a learning framework is that 30 days of consistent daily practice is roughly enough time for your brain to move the typing skill from conscious effort to procedural memory. You will not be a master typist in 30 days, but you will have crossed the threshold from deliberately placing each finger to automatically knowing where letters are. That shift — from conscious to automatic — is the entire goal of the first month.
After 30 days of structured practice, most beginners reach 25 to 35 WPM with full touch typing technique. That is likely slower than your current hunt-and-peck speed. The payoff comes in months two and three, when your touch typing speed accelerates quickly because the fundamental technique is already in place. By month three, most learners reach 50 to 60 WPM, comfortably outpacing their previous hunt-and-peck speed.
Before You Begin: The Right Setup
Get your environment right before day one. Sit at a proper desk with your feet flat on the floor. Position the keyboard so your forearms are roughly parallel to the floor or angled slightly downward — not reaching up. Your wrists should be straight and floating, not bent upward or resting on the edge of the desk while typing.
The screen should be at or slightly below eye level, far enough away that you are not leaning forward. Sit with your back supported and your shoulders relaxed.
During all touch typing practice, you must never look at the keyboard. Not even once. This is the non-negotiable rule of touch typing training. Every time you look down to find a key, you reinforce the visual scanning habit that prevents automatic finger memory from forming. Cover your keyboard with a cloth if necessary, or use a blank keyless cover if you can find one. The short-term pain of not looking forces your fingers to learn.
The Home Row: Your Foundation
All touch typing is built on the home row. The home row is the middle row of letter keys: A, S, D, F on the left side and J, K, L, ; on the right side.
Finger assignments for the home row: - Left pinky: A - Left ring finger: S - Left middle finger: D - Left index finger: F - Right index finger: J - Right middle finger: K - Right ring finger: L - Right pinky: ;
Notice the small ridges on the F and J keys. These tactile bumps exist specifically to help touch typists return to home position without looking. Every time your fingers leave the home row to reach for a key, they return to these bumps as their anchor point.
Thumbs rest lightly on the spacebar. Either thumb can press space — most typists develop a preference for the right thumb, which is fine.
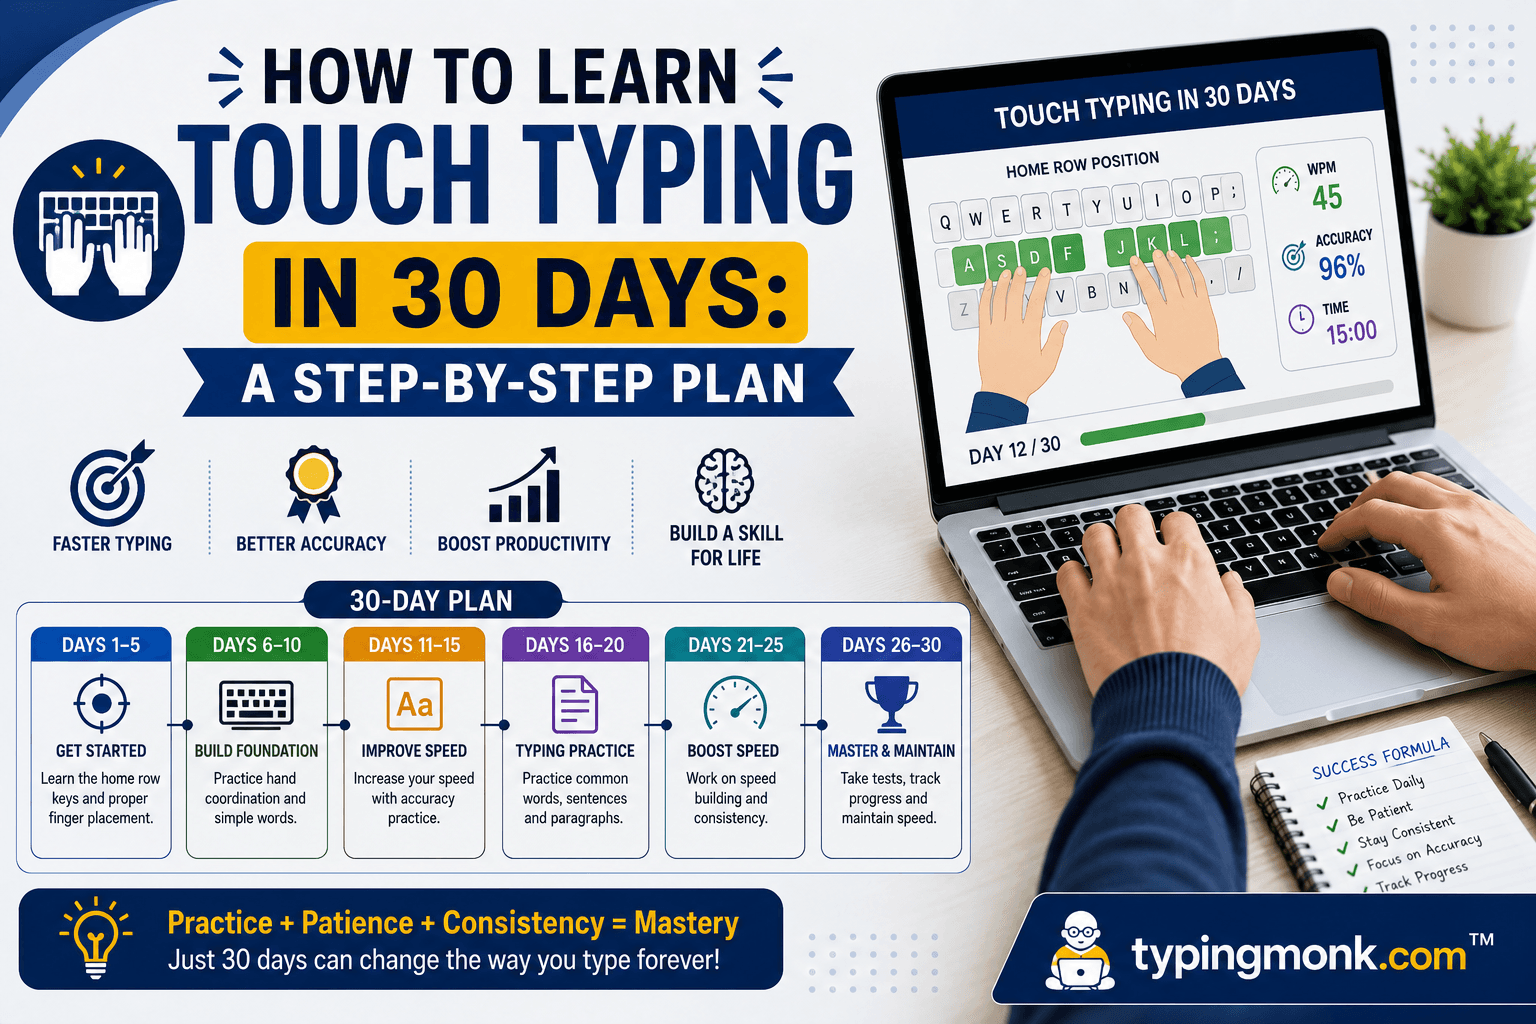
Week 1: Home Row Mastery (Days 1–7)
Week one focuses exclusively on the home row keys: A, S, D, F, G, H, J, K, L, and ;. You will not type any other keys this week. This may feel limiting, but week one is not about producing real words — it is about building automatic finger-to-key mapping for the most important keys on the keyboard.
Practice sessions: 20 minutes per day, every day. Use TypingClub, Keybr, or Ratatype — all three have structured lessons that start with home row exercises and progress systematically.
Day 1 and 2: Practice the left hand only. Drill the sequence A-S-D-F repeatedly, then practice combinations: FD, DS, SA, AS, FDA, SDF, and so on. Focus entirely on finger placement. Speed is not a concern — typing one character every two seconds is perfectly fine.
Day 3 and 4: Add the right hand home row. Practice J-K-L-; sequences separately, then combine with left hand: FJ, DK, SL, AJ, and so on. By day 4, you should be able to type without looking for all home row keys, even if slowly.
Day 5, 6, and 7: Practice real words that use only home row letters. Examples include: flash, flask, glad, hall, fall, as, ask, all, a, add, dad, fall, glad, half, has, lads, lass, sad, shall. Find a home row word list online (many free resources exist) and practice full words.
Target for end of week 1: type home row words at 10 to 15 WPM without looking, with correct finger placement.
Week 2: Top Row Introduction (Days 8–14)
Week two adds the top row: Q, W, E, R, T on the left and Y, U, I, O, P on the right.
Finger assignments for the top row follow the same hand/finger structure as the home row: - Left pinky: Q - Left ring finger: W - Left middle finger: E - Left index finger: R and T - Right index finger: Y and U - Right middle finger: I - Right ring finger: O - Right pinky: P
Notice that each index finger covers two keys (F and G for left; J and H for right at home row, and now R and T for left, Y and U for right in the top row). The index fingers are the strongest fingers and handle the most keys.
Practice sessions: 25 minutes per day. Use structured lessons on your chosen platform. In the first two days of week two, practice top row keys isolated (EWRQT drills on the left, YUIOP on the right). In days three and four, combine top row with home row in words. By days five through seven, practice full sentences using home row and top row letters.
Common words using only home row and top row: type, suit, trip, pilot, quote, tower, upper, story, reuse, fire, four, jute, fruit, other, poster, guitar.
Target for end of week 2: 15 to 20 WPM across home row and top row letters.
Week 3: Bottom Row and Shifts (Days 15–21)
Week three adds the bottom row (Z, X, C, V, B on the left; N, M, comma, period, slash on the right) and the Shift key for capital letters.
Finger assignments: - Left pinky: Z - Left ring finger: X - Left middle finger: C - Left index finger: V and B - Right index finger: N and M - Right middle finger: comma (,) - Right ring finger: period (.) - Right pinky: forward slash (/)
For Shift: when capitalizing a letter pressed by the right hand, use the left Shift key (pressed by the left pinky). When capitalizing a letter pressed by the left hand, use the right Shift key (pressed by the right pinky). Never use the same side Shift and letter key simultaneously — this causes awkward hand positioning.
This week is typically the most difficult. The bottom row requires a larger finger stretch downward, and many learners find Z, X, and C particularly awkward initially. Give yourself extra practice time on the bottom row before combining it with full keyboard work.
Practice sessions: 30 minutes per day. Spend the first 10 minutes on bottom row isolation exercises, then 20 minutes on full keyboard practice.
Target for end of week 3: 20 to 28 WPM across the full alphabet.
Week 4: Numbers, Punctuation, and Speed Building (Days 22–30)
Week four shifts focus from adding new keys to building speed and confidence across the full keyboard.
Numbers: The number row above the top letter row uses the same finger assignments (1 and 2 for left pinky and ring finger, through 9 and 0 for right ring and pinky). Many people never fully automate numbers — they remain a common source of speed slowdown. Spend days 22 to 24 specifically drilling numbers.
Common punctuation: Apostrophe (right pinky), hyphen (right pinky stretch), Enter (right pinky), Tab (left pinky).
Speed building practice for days 25 to 30: Use timed tests on Monkeytype or 10FastFingers. Take 1-minute and 2-minute tests three to four times per session. After each test, review which keys caused the most errors or slowdowns and practice those specifically.
Target for end of week 4: 25 to 40 WPM depending on starting point and daily practice consistency.
The Plateau: Why It Happens and How to Push Through
Almost every learner experiences a frustrating plateau, typically around weeks two and three. Your speed improves in week one, then seems to stall or even drop as you integrate new keys. This is normal and has a neurological explanation.
Each time you add new keys, your brain must integrate them into the existing motor program. Integration temporarily disrupts the fluency of previously learned keys as the neural pathways reorganize. This is not regression — it is consolidation.
The way through the plateau is not to practice harder or faster. It is to practice more slowly, with perfect technique, until the new keys become automatic. Slowing down when you feel stuck, rather than pushing through errors at full speed, is counter-intuitive but highly effective.
After Day 30: What Comes Next
After 30 days of structured practice, you have the foundation. Now you need volume and variety to build speed. The single most effective thing you can do in months two and three is to simply type more in your daily life using touch typing technique. Reply to emails with your new technique. Take notes with it. Chat with friends using it. Every minute of real-world typing at this stage reinforces muscle memory faster than any formal practice exercise.
Continue dedicated practice for 15 to 20 minutes per day on top of regular typing. Use TypeRacer or Nitro Type to add competitive motivation. Take weekly WPM tests to track your progress and confirm you are improving.
By the end of month three, most learners exceed their former hunt-and-peck speed. By month six, average touch typists reach 60 to 80 WPM. The early investment in correct technique pays dividends for the rest of your life.
Put it into practice
Take a free typing test and see your WPM right now.
Comments
Sign in to leave a comment.